Route power through the required battery modules
Start at the unlabelled source beside ENERGY REBOOT, follow the connected modules through Ψ02, Θ03, and λ03, and activate Ψ07 last. The complete route below works for all three batteries; reset the circuit and repeat it after each of the first two charges.
Watch the cable puzzle tutorial to see the active module lights and the resets between battery charges.Playing this video connects to YouTube.
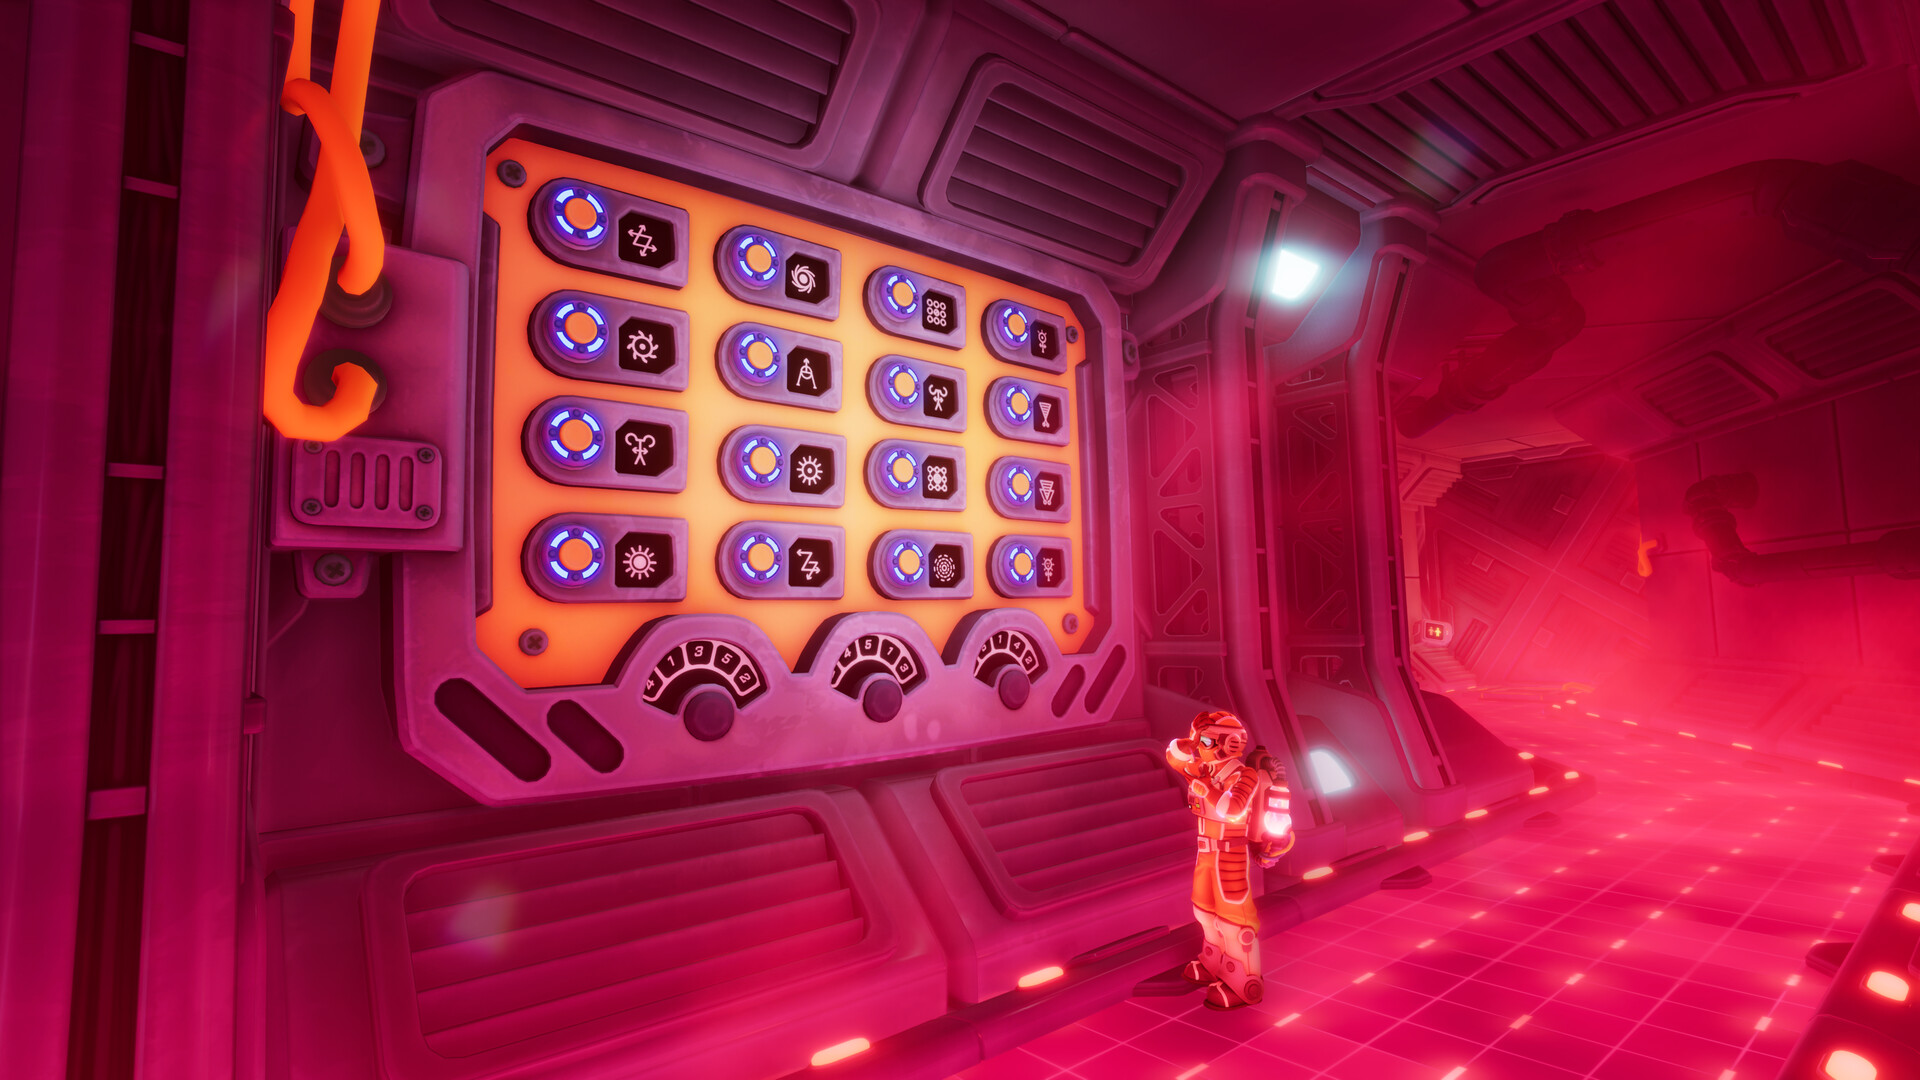
Identify the current module with your partner
This R&D electrical network comes after Gravitonics, and you solve it from different floors. Cables cross between your control areas, so have one player trace the outgoing cable while the other identifies its destination. Call out the complete Greek letter and number rather than the number alone.
GEN means the unlabelled starting unit beside ENERGY REBOOT; GEN is not printed on that unit in the game. Each numbered module has its own identifier. Agree on names for the Greek symbols and keep track of the last accepted activation so you can hand the next action to your partner clearly.
Power continues only from the most recently activated module to a module connected to it by cable. Wait for the current module to finish lighting before pressing the next one. Blue marks the current module, while yellow marks a module already used; you cannot reuse it within the same route.
Battery requirements and colored door unlocks
Each battery requires particular modules to be included in the chain before its final check. Activate Ψ07 at the end of every battery route. The complete route below includes every required battery checkpoint, so you can reuse it instead of learning a separate route for each charge.
| Battery | Required route |
|---|---|
| First battery | Include Ψ02, then finish at Ψ07. |
| Second battery | Include Ψ02 and λ03, then finish at Ψ07. |
| Third battery | Include Ψ02, λ03, and Θ03, then finish at Ψ07. |
RED, GRE, and BLU identify locked doors rather than additional modules. Passing power through the appropriate module opens each door. This makes another group accessible, but your next activation must still follow a cable from the current module.
| Door | Unlocking module and access |
|---|---|
| RED | Σ03 opens access to Δ01, Δ03, and Δ04. |
| GRE | Σ02 opens access to Θ01, Θ02, Θ03, and Θ04. |
| BLU | Δ03 opens access to λ01, λ02, and λ03. |
Follow the complete power route
Follow these activations in order, allowing each module to come online before continuing. The labels and connections stay the same between games, so this route does not depend on a randomized clue. Leave unused branches alone: completing the puzzle does not require activating every panel.
Pull your ENERGY REBOOT chain together with your partner to begin a fresh circuit at the unlabelled source.Playing this video connects to YouTube.
- Activate Ψ01 to move power from the starting unit into the numbered modules.
- Activate Ψ04 to continue toward the required Psi checkpoint.
- Activate Ψ02 to include the Psi module required by every battery.
- Activate Ψ03 to continue the chain toward Ψ06.
- Activate Ψ06 to carry the route toward the Sigma section.
- Activate Σ04 to bring power into the Sigma part of the route.
- Activate Σ03 to open RED and make its locked Delta modules accessible.
- Activate Σ01 to continue through Sigma before taking the newly opened branches.
- Activate Σ02 to open GRE and gain access to the Theta group.
- Activate Ψ08 to carry the chain onward toward Θ03.
- Activate Θ03 to include the Theta checkpoint required by the final battery.
- Activate Δ02 to continue from the Theta checkpoint toward the blue door control.
- Activate Δ03 to open BLU and make the Lambda modules accessible.
- Activate λ02 to enter the Lambda section of the chain.
- Activate λ03 to include the Lambda checkpoint required by the later batteries.
- Activate λ01 to complete the Lambda section and connect toward the endpoint.
- Activate Ψ07 last to check the completed chain and charge the current battery.
Recover when power stops or a button rejects you
If the next button rejects your input, check the last accepted activation with your partner. The next module must connect directly to that module, and pressing too early can fail while the previous activation is still lighting up. Let it finish, then check the complete destination label before trying again.
Pressing a disconnected or already-used module produces an error without automatically resetting your progress. If your accepted chain still matches the route, continue from its last successful connection. If you accepted a wrong branch and reached a dead end, return to ENERGY REBOOT with your partner and restart the circuit.
After charging a battery, reset before building the next chain. Pressing Ψ07 again cannot reuse a module that has already completed its part in the route. Energy Reboot clears the activated modules and closes the colored doors, while batteries you have already charged retain their progress.
If you opened a door but cannot activate a module behind it, check your electrical route before changing branches. An open doorway provides physical access; it does not let power jump from an earlier junction. Follow the listed sequence again after a reset, including its battery checkpoints and final terminal.